
Table of Contents
ESP8266 SPIFFS sketch data upload tool allows us to upload files to the NodeMCU or ESP8266 flash memory. This filing system can be used to store infrequently changing data such as; web pages, configurations, sensor calibration data, certificates, etc.
After that, we can read these files in the program for use. The benefit is that we can now keep this information separate from the program. Thus, we get a lot of flexibility. We add these supporting files to the File System and read them in the program.
In this post, we will see how to upload files to the ESP8266 File System.
Install ESP8266 SPIFFS sketch data upload tool in Arduino
To install ESP8266 sketch data upload tool in Arduino, follow these steps:
- Make sure you use the latest version of Arduino IDE and have ESP8266 core installed.
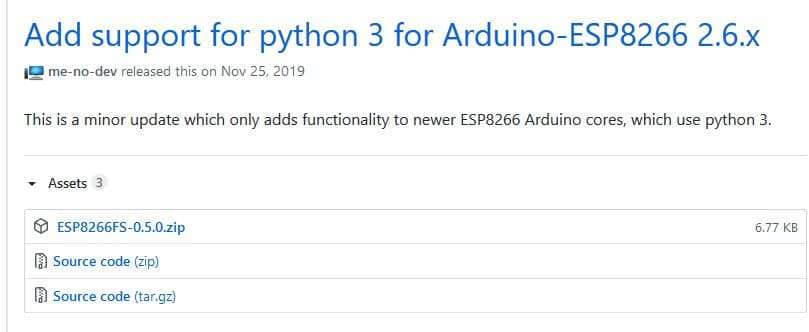
- Download the tool archive from releases page.
- In your Arduino sketchbook directory, create tools directory if it doesn’t exist yet. You can find the location of your sketchbook directory in the Arduino IDE at File > Preferences > Sketchbook location.
- Unpack the tool into tools directory (the path will look like <sketchbook directory>/tools/ESP8266FS/tool/esp8266fs.jar). In Windows systems, the path will look something like this:

- Restart Arduino IDE.
On OS X and Linux based OSs create the tools directory in ~/Documents/Arduino/ and unpack the files there.
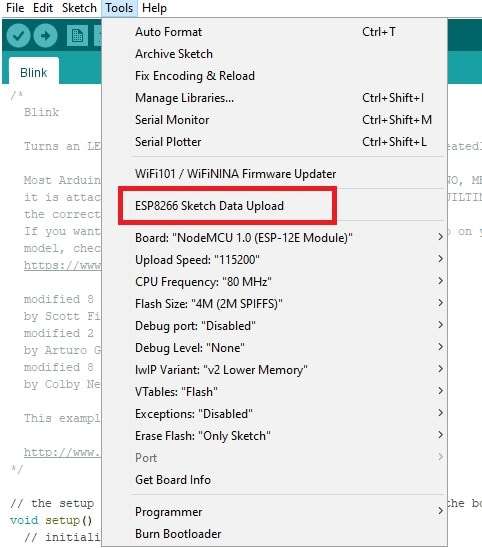
To check if the plugin was successfully installed, open your Arduino IDE and select your ESP8266 board. In the Tools menu check that you have the option “ESP8266 Sketch Data Upload“.
Upload Files to NodeMCU SPIFFS:
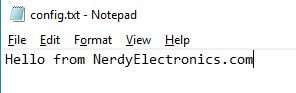
For this tutorial, I will use a text file called “config.txt“. Inside this file, I have written the following:
To upload files to the ESP8266 filesystem follow these instructions.
1) Create an Arduino sketch and save it. For demonstration purposes, you can save an empty sketch.
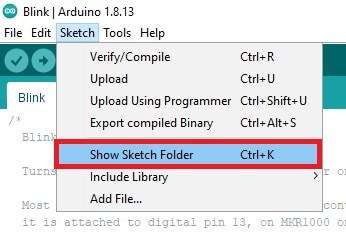
2) Then, open the sketch folder. You can go to Sketch > Show Sketch Folder. The folder where your sketch is saved should open.
3) Inside that folder, create a new folder called data.
4) Copy the file “config.txt” into the “data” folder
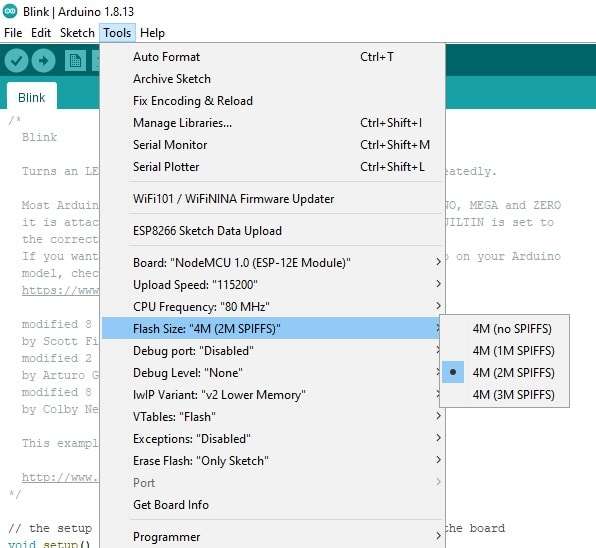
5) In the Arduino IDE, in the Tools menu, select the desired SPIFFS size (this will depend on the size of your files)
6) Now, upload the files. In order to do that, you just need to go to Tools > ESP8266 Sketch Data Upload, in the Arduino IDE
And you will see something like this in the Arduino information space at the bottom of the Arduino IDE:

We have now successfully uploaded the config file to the NodeMCU.
In a similar way, we can upload any file to the File System.
Issues faced during File Upload:
Let us now see some common issues you might face while uploading the files.
1. SPIFFS Upload failed!
A very common issue faced while uploading files to the ESP8266 File System is the “SPIFFS Upload failed!”.

Reason:
Your Serial Monitor is open, or the same COM port is being used by some process. The other processes could be some serial monitor softwares like HyperTerminal or RealTerm
Solution:
In order to avoid the “SPIFFS Upload failed!” issue, close the Serial Monitor or the process that is using the COM port.
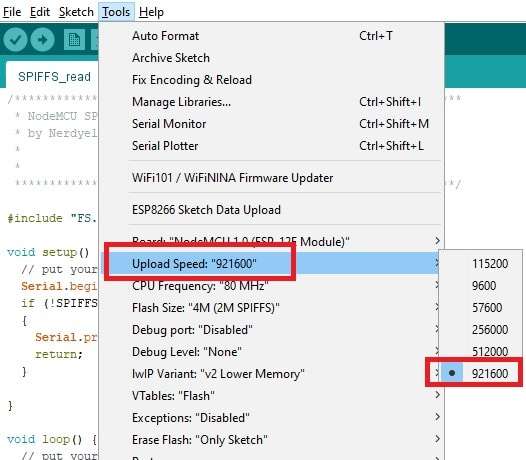
2. SPIFFS Upload is very slow!
Reason:
The upload speed is less
Solution:
Increase the upload speed as shown:
Where can we use ESP8266 SPIFFS Data Upload?
Some examples where we use this upload steps are:
- Easy configuration of NodeMCU – Wifi Name, password, other information
- Uploading communication certificates – Communication with AWS IoT Core. In this example we have used the SPIFFS data upload tool to upload certificates generated for “things” in AWS. If you are interested in IoT, you should definitely try doing it. It is a three part tutorial:
In the next post, we will look into and discuss in details how to read these files in the program.
Do let me know your opinion in the comments below.
Hi, I’m Vivek, a Senior Embedded Innovation Specialist. I have been working on Embedded Systems and IoT for the past 11 years. I love to share my knowledge and train those who are interested. Nerdyelectronics.com was started out of this interest. You can read my full profile in this link.


