
Table of Contents
In this post on AWS Lambda time trigger, we will discuss how to trigger Lambda periodically and automatically based on time. AWS Lambda is an event-driven, serverless computing platform provided by Amazon as a part of Amazon Web Services. It is a computing service that runs code in response to events and automatically manages the computing resources required by that code.
For a more detailed description, You can follow this link.
A trigger is a Lambda resource or a resource in another service that you configure to invoke your function in response to lifecycle events, external requests, or on a schedule. Your function can have multiple triggers.
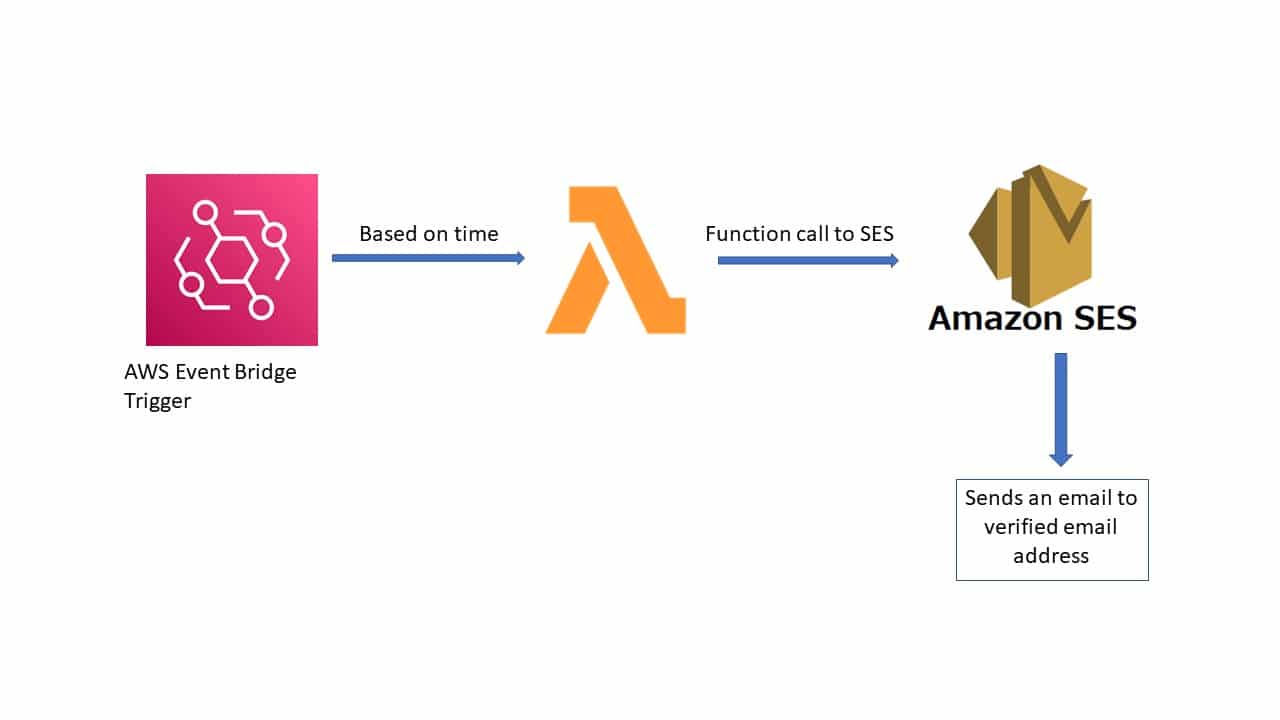
In this post, we will learn how to trigger AWS lambda based on time. So, we will set a time period and expect the lambda to execute at that time without our intervention.
Also, to verify if lambda is getting triggered periodically, we will be sending email using Amazon SES each time the code is being executed. Let’s say we configure it to run every 15 minutes. So, we should receive an email every 15 minutes. An email that is sent from AWS Lambda. You can read more about Amazon SES here.
Pre-requisites for sending email from AWS Lambda using Amazon SES
To send an email from lambda using Amazon SES, we would need the following :
- AWS Identity and Access Management (IAM) permissions for Lambda to execute the API call.
- A verified Amazon SES identity (domain or email address).
- A Lambda function with logic for sending email by using Amazon SES every 15 minutes.
Create an IAM policy and execution role
In this section, we will create the necessary policy and role to execute the lambda function. We will give the lambda function the permissions to call the SES API.
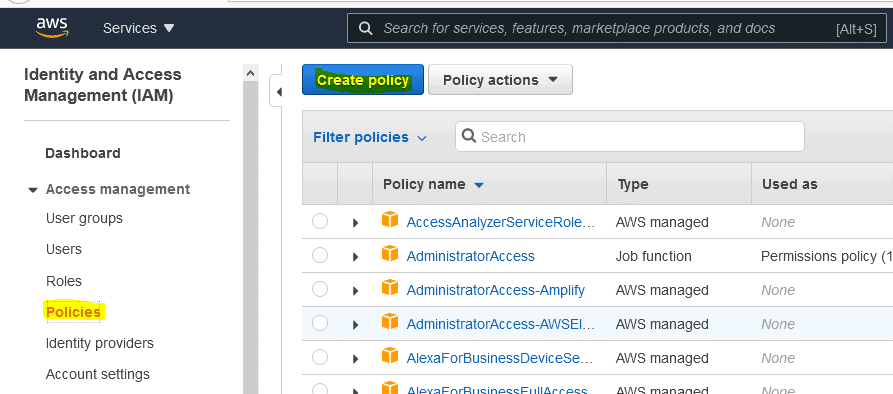
1. Go to IAM Dashboard and click on ‘Policies‘ and then ‘Create policy‘.
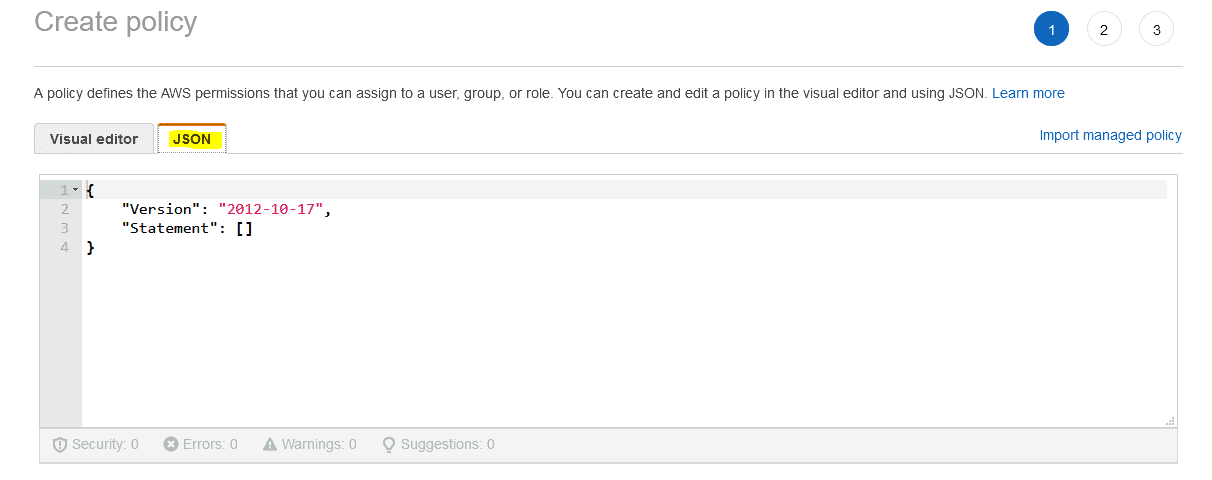
2. Create an IAM policy using the JSON policy editor. Paste this JSON policy document into the policy editor as shown:
{
"Version": "2012-10-17",
"Statement": [
{
"Effect": "Allow",
"Action": [
"ses:SendEmail",
"ses:SendRawEmail"
],
"Resource": "*"
}
]
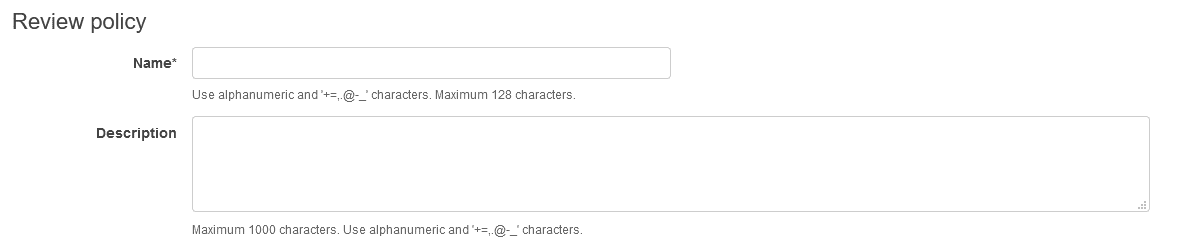
}3. Give a name and description to the policy and click on Create Policy button.
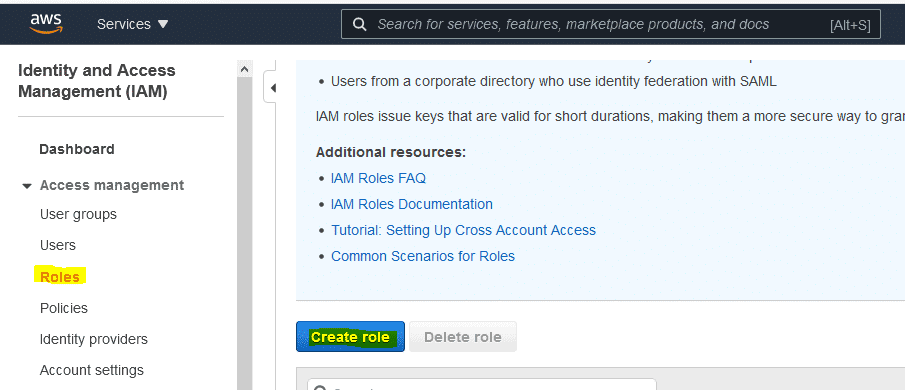
4. Go to IAM Dashboard > Roles and Click on Create Role.
5. Select Use Case as ‘Lambda’ and Click on ‘Next:Permissions’

6. Search for your policy name, select it and click on ‘Next’
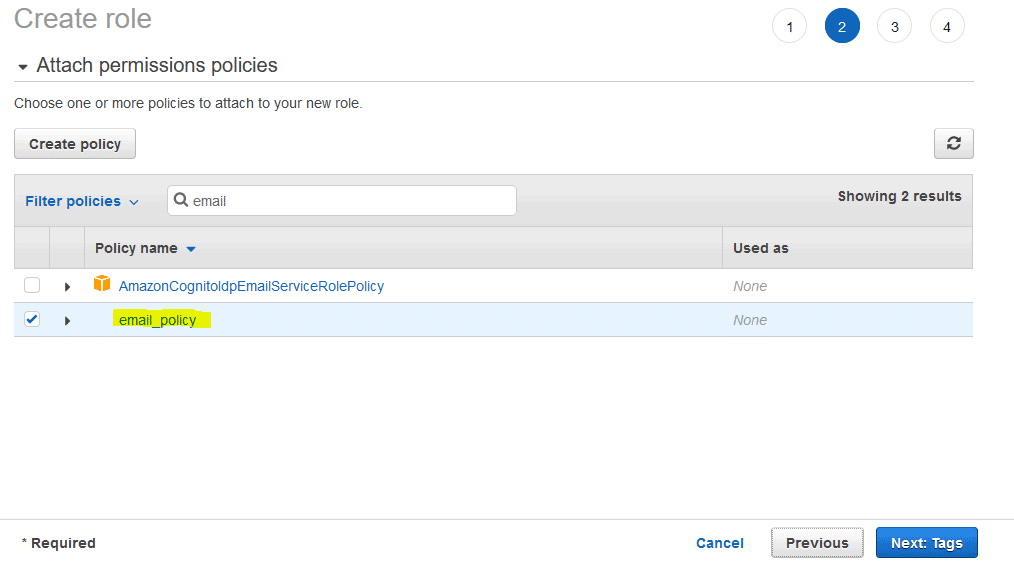
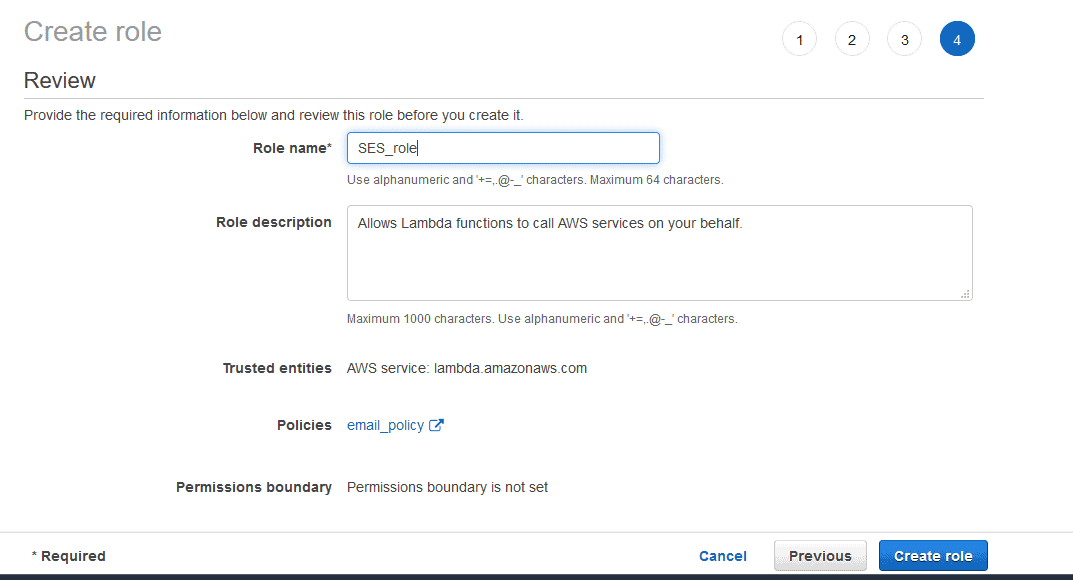
7. Attach the IAM policy to an IAM role that you plan to assign to your Lambda function.
Verify your Amazon SES identity
We need a verified email address (SES identity) to send emails. In case you don’t already know how to do that, it is very simple and quick. please go through the link where it has been explained in detail – Click here
Create or update your Lambda function
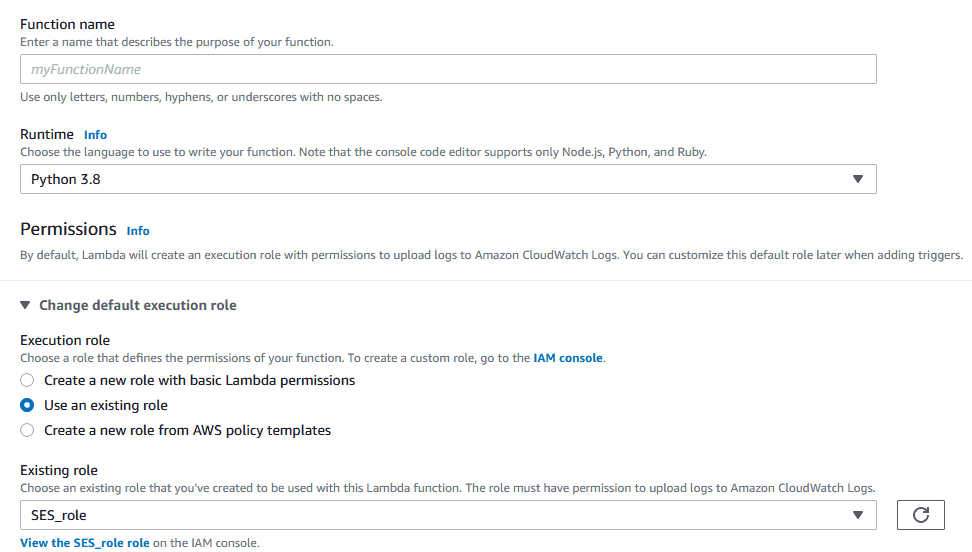
Create a Lambda function using the Lambda console.
1. In the Lambda console, in the left navigation pane, choose Functions.

2. Choose the name of your function.
3. On the Permissions pane, under Execution role, confirm that the IAM role with Amazon SES permissions is assigned to your function.
4. Under Function code, in the editor pane, paste the following example function code:
What this piece of code does is that it reads the system time and then sends an email with the current system time. The time is read in the function lambda_handler and the email is sent from the function send.
import json
from datetime import datetime
import boto3
from botocore.exceptions import ClientError

def lambda_handler(event, context):
    # TODO implement
    recipient="***********@gmail.com" #edit your email here
    timestamp = str(datetime.now())
    print(timestamp)
    send(timestamp,recipient)
    return {
    'statusCode': 200,
    'body': json.dumps('Email sent from Lambda!')
    }

def send(message, RECIPIENT):
    AWS_REGION = "ap-south-1"
    SENDER=RECIPIENT
    CHARSET = "UTF-8"
    SUBJECT = "NerdyElectronics - Test Lambda with SES"
    # Create a new SES resource and specify a region.
    client = boto3.client('ses',region_name=AWS_REGION)

    # Try to send the email.
    try:
    #Provide the contents of the email.
    response = client.send_email(
         Destination={
               'ToAddresses': [
                         RECIPIENT,
                     ],
                    },
         Message={
              'Body': {
                  'Html': {
                     'Charset': CHARSET,
                      'Data': message,
                     },
                  'Text': {
                     'Charset': CHARSET,
                     'Data': message,
                     },
                  },
                 'Subject': {
                     'Charset': CHARSET,
                     'Data': SUBJECT,
                    },
                 },
         Source=SENDER,
      )
    # Display an error if something goes wrong.
    except ClientError as e:
        print(e.response['Error']['Message'])
    else:
        print("Email sent! Message ID:"),
        print(response['MessageId'])
Create Trigger for AWS Lambda:
Now that we have all the prerequisites set, let us dive into setting the trigger for AWS Lambda.
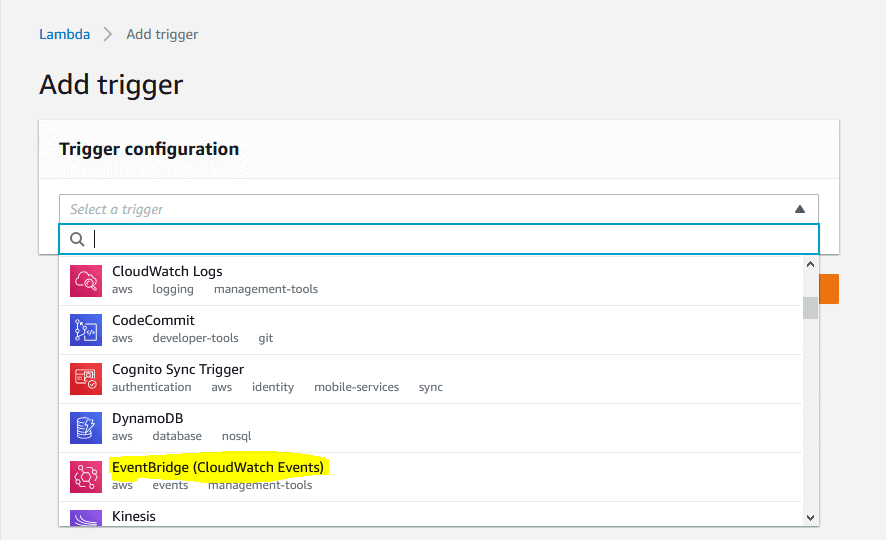
Add Trigger : EventBridge (CloudWatch Events)
This particular trigger allows us to set periodic triggers. There are rate and cron jobs. For this example, we will use only the rate() trigger
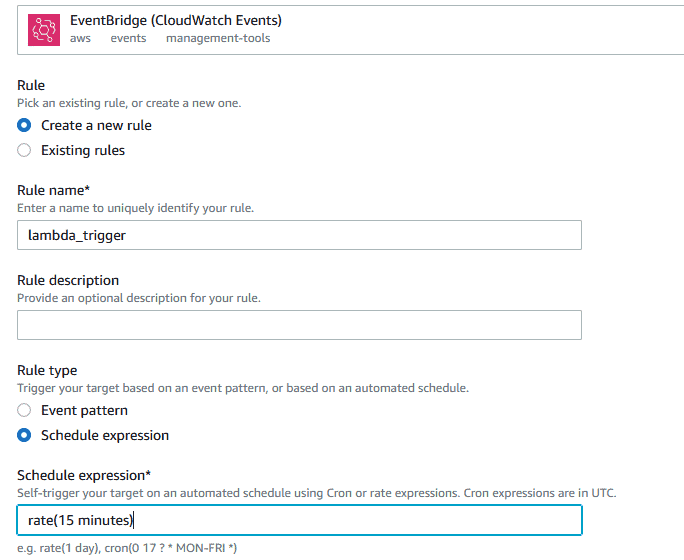
Create a new Rule for Trigger Configuration
Set the schedule expression as rate(15 minutes). This causes the EventBridge to send a trigger to the lambda function every 15 minutes. This is the place where you set the period of execution for your function. Do not set it too low because:
- The status won’t change too frequently
- You might incur huge costs if you exceed the free tier limit
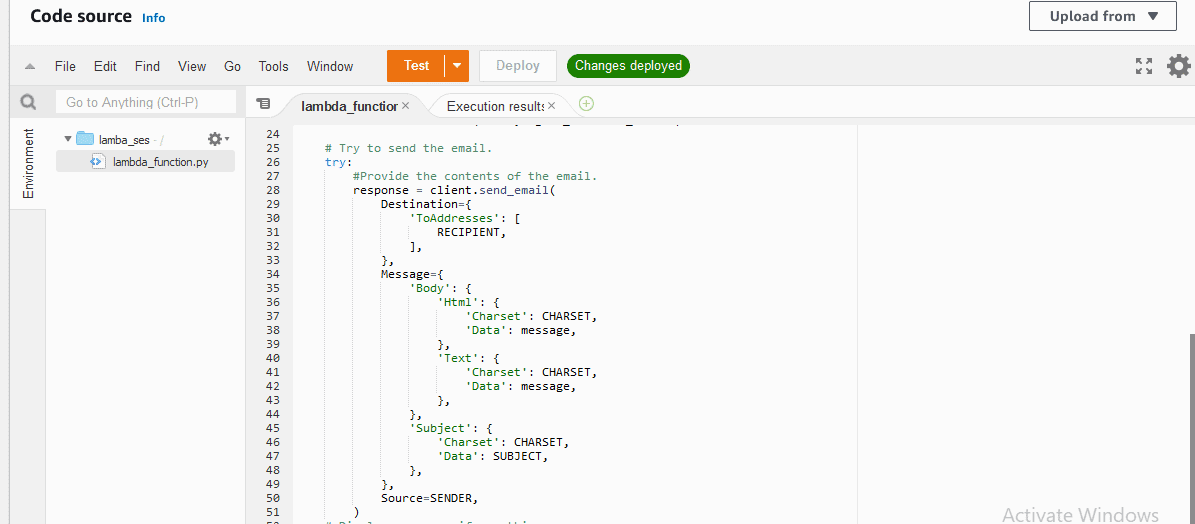
Deploy and Test
With the triggers set, go to Editor, click on Deploy and then Click on Test.
You will be asked to configure test event. Create a new Test Event and give it a name.

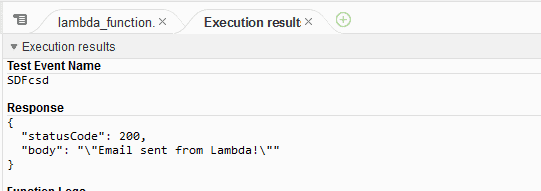
Verify the Execution Result
When you test it, the following screen should appear with the status code as 200 and message which we passed in the code. This means that the function executed successfully and you should have received an email.
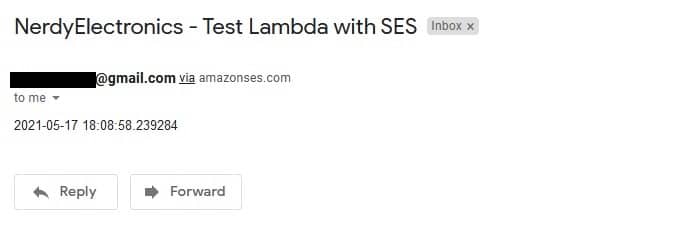
Receive email after 15 minutes
After every 15 mins, lambda function will be triggered and a mail will be received at the recipient’s email address. You should receive mail like below :
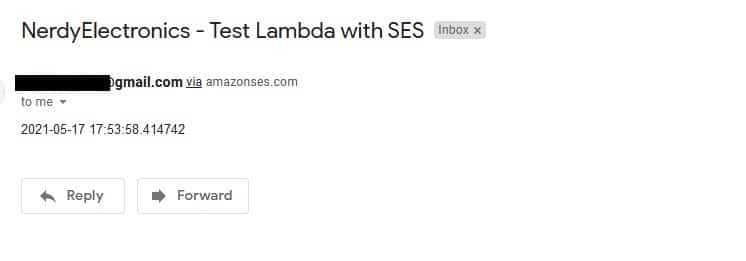
After 15 minutes
In our next post, we will see how to trigger AWS Lambda using API.
Hi, I’m Vivek, a Senior Embedded Innovation Specialist. I have been working on Embedded Systems and IoT for the past 11 years. I love to share my knowledge and train those who are interested. Nerdyelectronics.com was started out of this interest. You can read my full profile in this link.


 - IoT Project")

